Star Wars Arcade 1UP
The first 2 minutes of this video are a funny skit, then we get into the assembly, gameplay and review of the Star Wars Arcade1UP. A lot of work went into this video and hope you find it entertaining and informative!
(See video description for time markers – if you want to easily skip around)
Table of Contents
Where to buy the Star Wars Arcade 1UP?
Why the Star Wars Arcade 1UP Game?
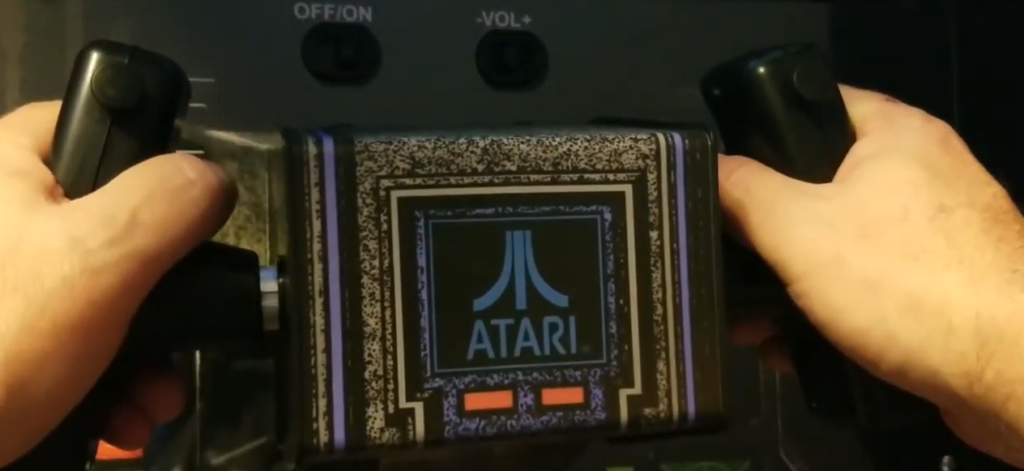
Like many folks in their 40’s+, I spent a lot of time in Arcades growing up. Sure, I can build my own cabinets but there is a lot of expense associated even with building your own – and doing it right! MDF is expensive (wood for the cabinet), making (or buying) the patterns, lots of time cutting, wiring, painting, artwork design, software, etc. With the Star Wars game itself, there is a unique component that few cabinets have – the Yoke!

I found the Yoke on the Star Wars Arcade1UP to perform admirably. If it didn’t, it would have gone back to Game Stop and you wouldn’t be reading this review. I wasn’t about to spend several hundred dollars on a unit that didn’t perform well. I was pleasantly surprised, once it was all assembled that it worked as well as it did.

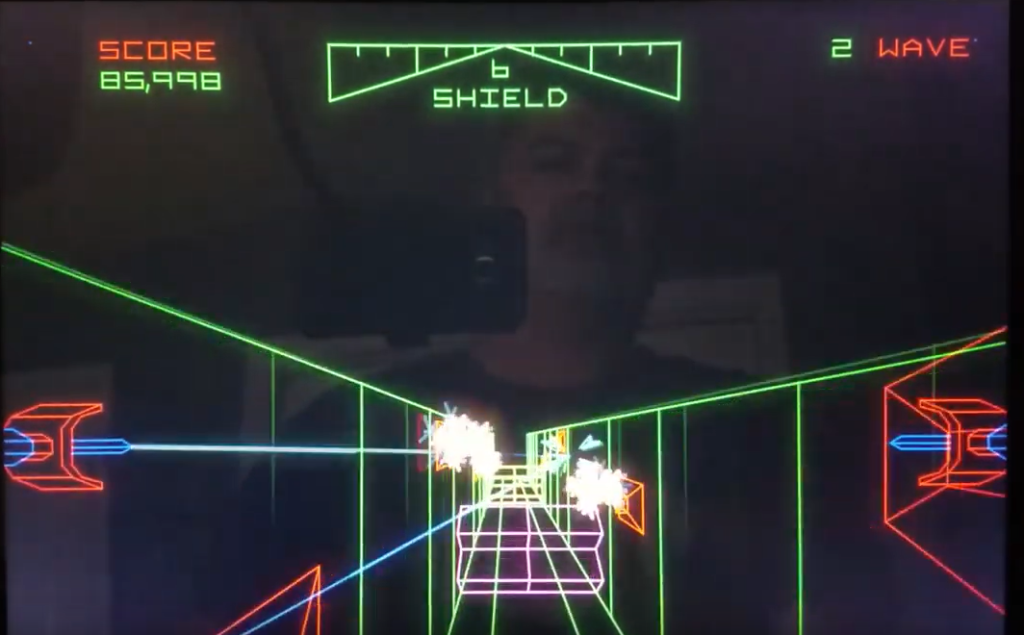
Once I powered on the cabinet and selected Star Wars, I felt that familiar rush I experienced back in the early-mid 80’s coming back to me! You know, the feeling that you’re in the cockpit of an X-Wing fighter taking on the Empire! Of course, there are two other games in the unit which I played less as a youngster: Empire Strikes Back (ESB) and Return of the Jedi (ROTJ). I remember playing ROTJ, but not ESB. I find both of them just as fun as Star Wars -at this point. Primarily, because I have less game time in with those games.
Assembly
The assembly of the Star Wars Arcade1UP went without any issues. It took me a total of 2 hours, but that was primarily because I was organizing pieces for the camera, recording, reading instructions as I went along (double-checking to make as few mistakes as possible). Realistically, I think most anyone would be able to assemble the cabinet between 30-60 minutes. It wasn’t difficult but there are a few tips I’ll share below, based on my experience:
Assembly Tips
- You may want to take the plastic off the monitor before assembling into the cabinet. Might make it easier, however you risk potential scratches in the process. I assembled it with the plastic on and used a wooden toothpick to pry up the edges of the plastic film from the lower-right corner of the display. I couldn’t get my finger nails between the display and the cabinet. Maybe this tip will be helpful to someone else. You can see it in the video here.

- The instructions for putting the riser together are not in the larger manual. They are in a small plastic bag that has all the hardware for the riser. I spent some time looking for it, thinking it was missing before I found it.
- Assembly of the 2nd side panel to the rest of the assembly was a little tricky. My way of getting it to go smoothly was to partially screw in some of the screws (about half way) to allow me to easily align the rest of the pieces.
- Some have stated the corner brackets for the monitor were a problem, they weren’t super easy but didn’t take too long.
- Use a hand screwdriver, as they recommend. Unless you turn the torque way down, you may risk damage to the wood and it could wind up wobbly.
Assembly was easy enough, pretty sure I could do it in about 30-40 min. and hopefully the tips above were helpful to you.
How are the Games?

They are AWESOME! All 3 play wonderfully and Star Wars and ROTJ are exactly as I remember them in the Arcade. There is also an option for ROTJ to enable scan-lines, which gives you a more familiar CRT display experience for that game. I don’t recall playing ESB in the Arcade, I may have, but it clearly didn’t leave a lasting impression on me, if I did. That said, I do enjoy the game and it’s one I’ve been playing the most out of the 3 lately.
If you check out the video description in the video at the very top of the page, you’ll see I have time markers there. This will allow you to easily jump around to see specific sections – if you don’t want to watch the whole video. It is longer than most of my videos, but I wanted to make sure to show you enough of the games to make it worth watching!
Future Idea
One feature that I think would be awesome with the Arcade1UP machines which DOES NOT exist, is to allow uploading your high-scores to a central server over a WiFi connection. That way, you could play competitively against other owners of the same Arcade1UP cabinet. They could easily create a Multiplayer menu option, add a WiFi chip to their board which would allow the unit to periodically send updates to Arcade1UP and allow you to see your ranking right on the cabinet! When you register your cabinet with them, you would create an account and associate a user name, etc. Then, when your scores get updated, you can see your ranking across all other cabinet owners. Sure, this idea isn’t likely to happen anytime soon. But wouldn’t that be fun! Comment in the video description if you like this idea, maybe future models could incorporate something similar. If Arcade1UP truly wants to “1-UP” their competition, this would certainly do it. If they need any sample REST requests, encoding, etc. to help them along I’d be happy to oblige my designs 😉 Maybe Arcade1UP will see this and agree?
Going back to the games in the Arcade1UP, if you are a Star Wars fan and loved playing these games back-in-the-day, you’re going to love this!
My Thoughts on this Unit
PROS
- Gameplay is spot-on
- The Yoke performs quite well! I’ve read some comments about a dead-zone in the middle of the screen, I have no problems with it and no idea what they are talking about.
- I like the sound controls on the control panel, makes it easy to adjust the volume when everyone else is asleep 🙂
CONS
- The Price is a bit higher than I think it should be. At around $520 USD (with tax), you’re paying a pretty hefty price to play these games. But then again, you’d spend much more building your own and buying an existing Yoke which costs around $350 (at the time of this writing) plus the $99 USB conversion board. The controls alone will cost nearly as much as the Arcade1UP Star Wars cabinet. If you look at it this way, the $500 price tag isn’t so bad after-all.
- I personally thought the silver finish of the cabinet screws could have been thought out better. I think a black finish would have looked much better, the silver screws just stand out to me.
So, would I buy it again? At this point, I would have to say a resounding YES! I love it and have played it daily since it arrived! I’m much better at these games now than what you saw in the above video 🙂 OK, maybe not “much” better, but certainly better.
I hope you enjoyed the video and this tutorial as much as we did filming it and… May the force be with you! (link is to subscribe to my YouTube channel so you don’t miss future videos from WTT!). Special thanks to my wife for her Camera work, it would not have been possible without her help!
If you want to see similar articles/videos, please click around this site to see what interests you. You can find all of our tutorials here and more arcade-related projects/videos here.
What if I wanted to build my own Star Wars Cabinet?
It’s certainly possible! There are places where you can buy your own Yoke and install it in your own cabinet. A few you might consider would be the Alan-1 Star Wars Arcade Yoke and the upcoming Glen’s Retro Show Star Wars Arcade Yoke. I don’t have either of these units in my possession, so I can’t offer an opinion on which one is the best solution. However, I do have experience with many of the Glen’s Retro Show controls (see my OpenCADE GRS page for more info.) and once it’s available, it very well would be the 1st one I would consider – if I were going to go the DIY route. This is based solely on past experience with his products.
But then, you have to source the artwork which can be very expensive. A print house like Staples or Office Depot likely won’t allow you to print them without permission from Disney. Good luck there. I considered all of these points before deciding on the Arcade1UP unit.
Disclaimer
*NOTE * Some audio from the film Star Wars A New Hope was used.
DISCLAIMER: This is an unofficial, non-profit “PARODY” not intended for commercial use. This was made strictly for Entertainment/Educational purposes, as well as Visual Effects & DV testing. All story, characters, likeness & sound, are the property of Walt Disney/LucasFilm. Any ad revenue generated by this video goes to Walt Disney/LucasFilm and not WTT – and rightfully so! I just couldn’t see the intro. playing anything but the theme song to Star Wars and appreciate they allowed the video to play.
Hoping to save up enough money in the next year or two to take the family to Disney World! Now that would be a fun on-the road with WTT 🙂


