OpenCADE

Table of Contents
Video: Build Your Own OpenCADE!
Please don’t keep this video a secret
SUBSCRIBE & SHARE!
You won’t want to miss what’s coming next! 😎
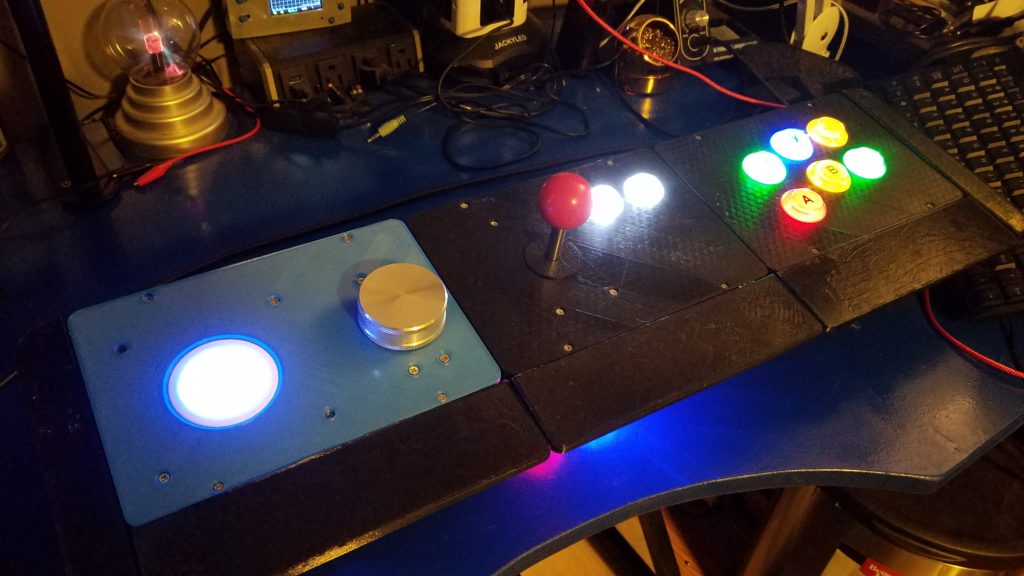
Welcome to OpenCADE! A truly open/modular platform for building your own personal Arcade console. OpenCADE is now available for download/3D-Printing to allow you to begin building your own custom Arcade. It’s very configurable and allows you to Make it Your Way.
Latest Additions
Here you’ll find some of the latest additions now supported by OpenCADE. All the 3D Models, templates and instructions on this page are provided to you at no cost. If you like this project and want to support us, please like, share or subscribe on our videos! Check out all the supported options for the Glen’s Retro Show components here.
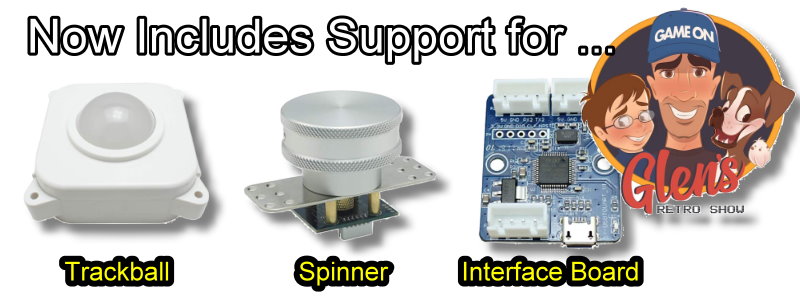
Glen’s Retro Show: OpenCADE Review
Viewer Builds
The following are builds created by WTT viewers! If you would like to see your build added here, we would very much like to hear from you! Please contact us via messenger on our Facebook page here or via e-mail at wagnerstechtalk at gmail dot com.
- Manny Flores Dual-Stick Robotron Build – Manny did a beautiful job and managed to create a dual-controller configuration with a single encoder! Click the link above to see the details that he has shared with us on how he accomplished it.

We hope you enjoy this solution and let us know how we can do a better job. This is an on-going project with more options being designed for it. Where’s that Trackball already?? Oh wait, here it is!
-The Wagner’s TechTalk Team (Jon & Landon)
ps. John’s Arcade recently read one of our e-mails on an episode and mentioned OpenCADE! Check it out here.
MAIN OpenCADE Download (Models/.stl’s)
You can download/preview the OpenCADE package from Thingiverse below. This is the base package that you will need to start off with, a few items are optional so be sure to check out the included manual or video above for details:
OpenCADE Download on Thingiverse (Last updated 2/27/2019 – v1.0)
Documentation
You can view/download the current documentation below :

RetroPie Download
You may find the latest documentation for RetroPie and their installation guide here. We also have a video on how to install RetroPie here. RetroPie is a Trademark of the RetroPie organization.
*Note – If you intend to build any OpenCADE, please see the details on the RetroPie website to make sure it is done so, legally.
Parts you’ll need for your build
Below is a list of parts we purchased for our builds, in addition to a 3D Printer ( minimum print bed dimensions needed to print this project is 227mm Length X 148mm Width X 150mm Height). You can get your parts anywhere you want, this list is provided as a reference and what we used in the video above.
- Raspberry Pi 4 or Raspberry Pi 3b+
- Power Supply for RPi
- 128GB MicroSD (Â smaller cards work fine too, just a recommendation )
- Button/Joystick Kits
- M2 / M3 Screws
- M3 Nuts
- Rubber Feet (Large) ( optional )
- USB Female -> Male Extensions ( optional )
Advantages of this Solution
- You can start off with a single RPi build quite inexpensively.
- You can add additional controllers, bases, etc. It can grow with your needs!
- Make it what you want, in any color! Want a Galaga Decor go for it. DK, the same!
- Did we mention, the case is basically FREE (minus the cost of the printer filament)
- Additional options can be added as they are developed (Please see the Add-On’s section)
- Include a cover plate for the expansion holes. In addition, the package includes a USB female plate that will allow you to attach keyboards, spinners or trackballs directly to your OpenCADE!
- A base with no front holes is provided in the package, in case you don’t want two front button holes (great for Player 2…4)
- An Empty Control Panel is included in the package to allow you to custom design the control panel however you wish. The holes that are pre-designed are for the Joystick and screw holes so you don’t have to worry about that.
- Can be used with our Arcade Restrictor for an easy and simple solution for playing those classic 4-way games (Ms. Pac-Man, DK, etc.)
- Further down the road, we plan to design in-line spinner and trackball attachments which you can place in any segment you wish!
- Expandable by you, since we have provided the .stl files, you can create new components that can be used by any OpenCADE user!
- We will be developing new add-on’s, components and customization’s as well. This project has ONLY STARTED! Much more to come…
Video: Expansion Pack
Customize your OpenCADE even further with the expansion options below. There are links to download the .stl’s and control panel templates. Make it your way!
The following are additional options to further customize your OpenCADE. Please read the description in the link for further details.
- OpenCADE Expansion Pack (Last updated 3/17/2019) – Thingiverse 3D-Printable models to enhance your OpenCADE.
- Suction Cup Attachment (Last updated 3/10/2019) – Add suction-cup feet attachments for greater stability (on Thingiverse).
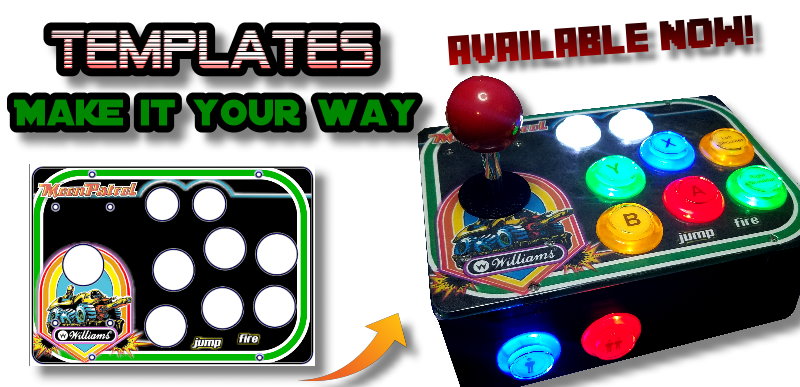
- Control Panel Templates (Last updated 5/10/2019) – Create customized control panel artwork with these templates. See exactly what the button layout will be prior to printing!
Included in the Expansion Pack
- Dual-joystick control panel with no buttons (for games like RoboTron/Krull), this would be used as a special-purpose controller plugged into an RPi (OpenCADE or otherwise).
- Wrist panel to expand the control panel for a 1-n player configuration.
- Create a completely empty control panel (screw holes only), so you can customize the button layout. Simply import into your own 3D modeling software and cut the button holes the way you want them.
- Joystick-only panel, positioned towards the left-center and button layout (only) on a separate control panel. This allows you to build a single player unit that is at near arcade size.
- Suction cup adapters to allow inserting the suction cups into a small adapter that can be super-glued/E6000 to the base for greater stability for a 1-n player unit.
- Control Panel Templates (NEW) will allow you to easily design your own custom control panel for OpenCADE. Using layers, simply import your image(s) and lay it out how you want. Use the button layer to line up the button holes and then print!
Materials Used for the Expansion Pack
- 5-pack joystick encoder cables – This is needed only if you plan on building a large (i.e. 2 base) single-player control panel.
- Header pins to join joystick cables – This is needed only if you plan on building a large (i.e. 2 base) single-player control panel.
- Avery 8465 Shipping Labels (8 1/2″x11″) – Useful if you want to create your own control panel artwork.
- Avery 73601 (9″x12″) Self-Adhesive Laminating Sheets – Useful if you want to create your own control panel artwork.
- Suction Cups for base – Add greater stability to your build with these large suction cups.
Our Builds
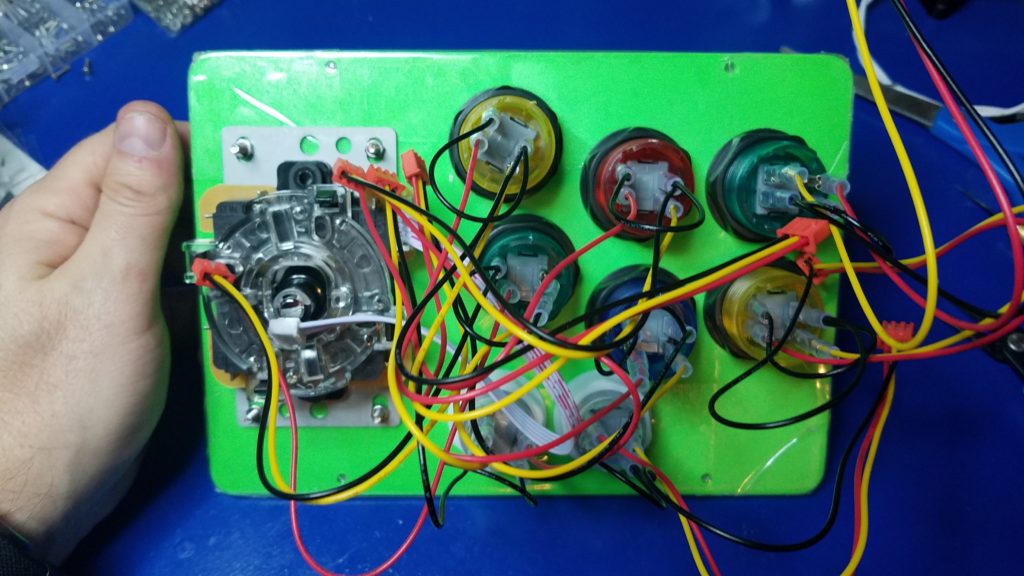
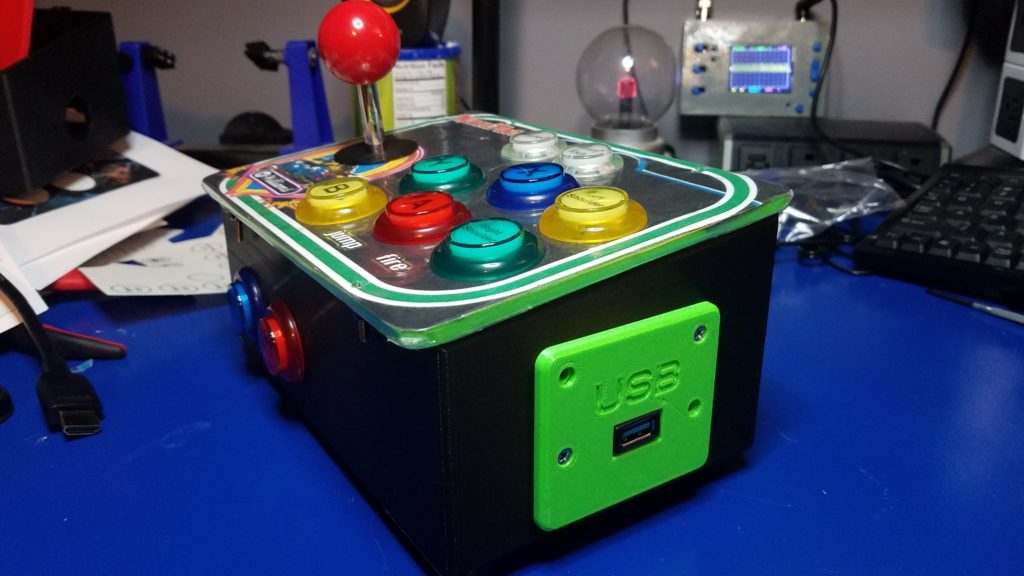
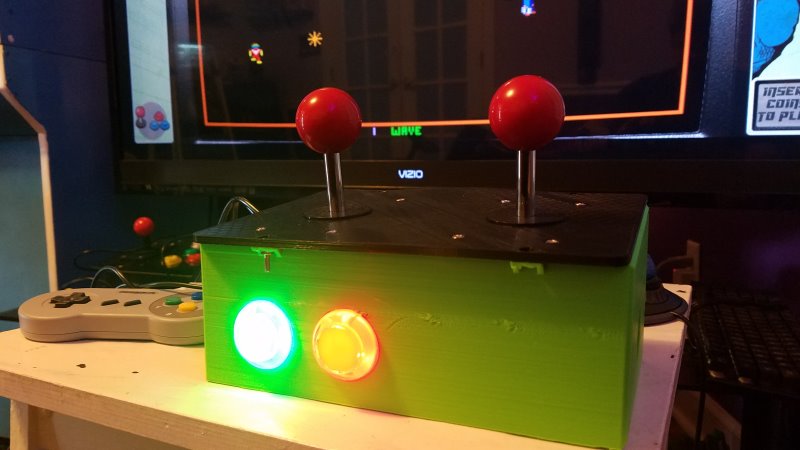
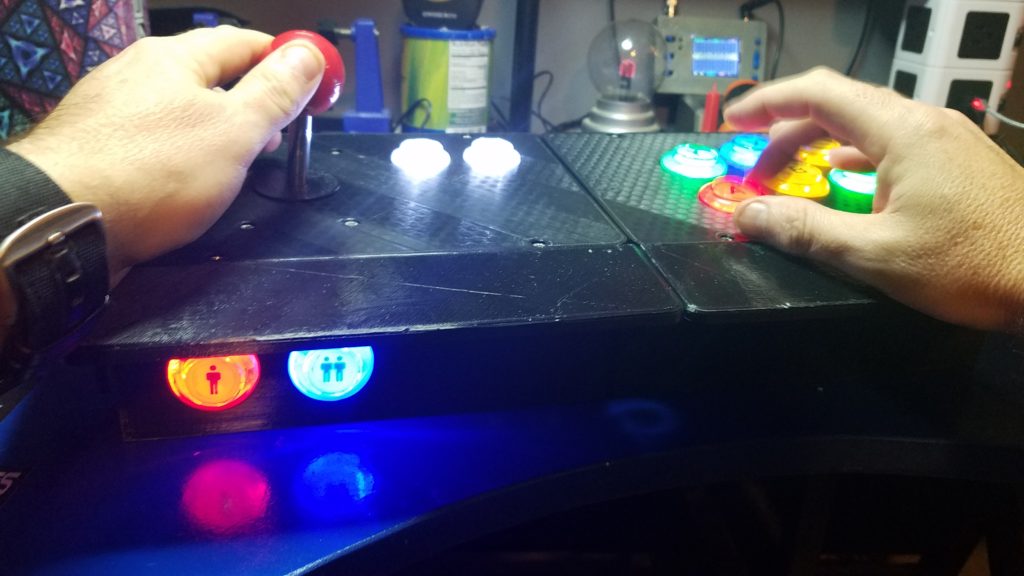
Below are some examples of the builds we created to test out this solution.
-
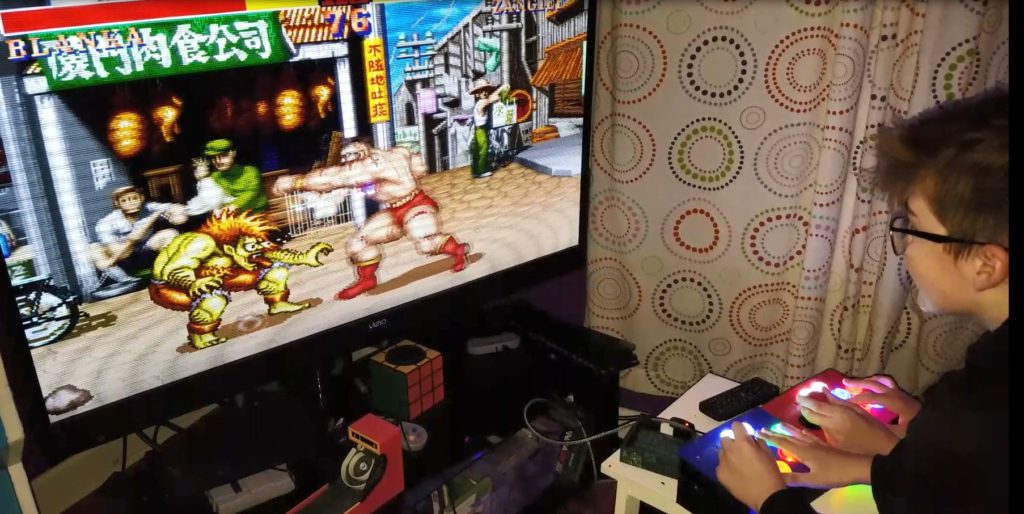
Boys helping test 🙂 -
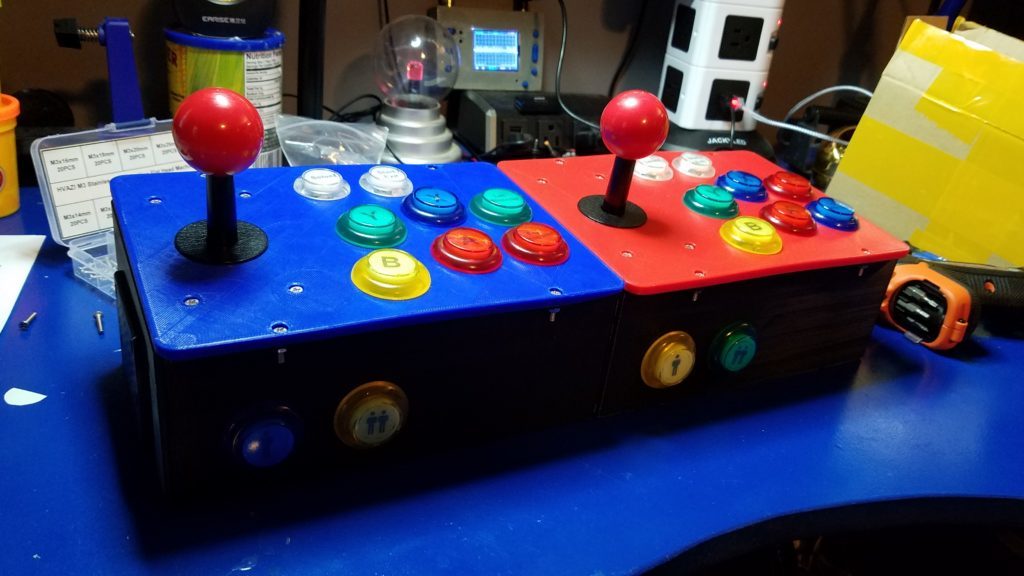
2 Player OpenCADE -
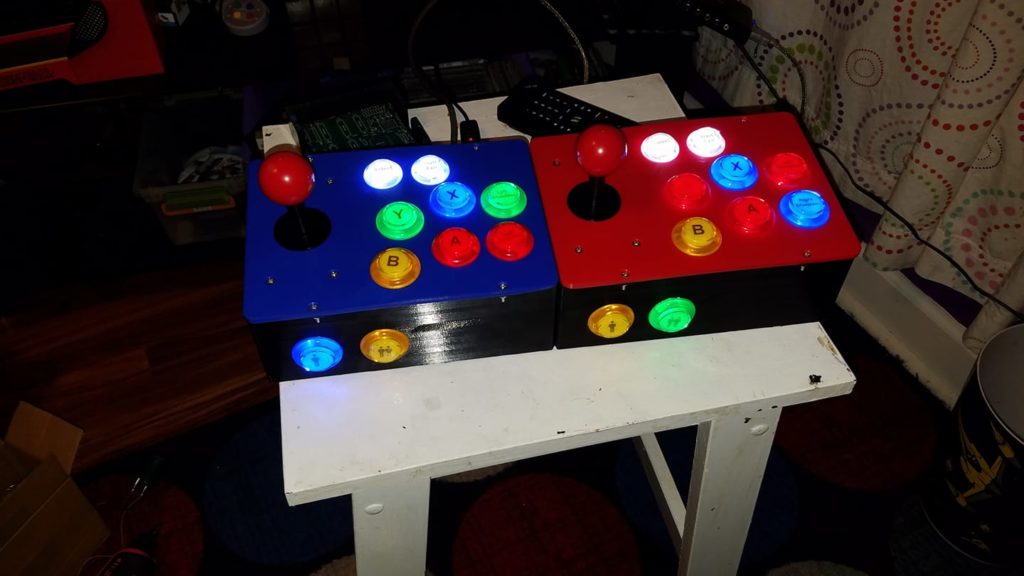
Powered on and Ready -
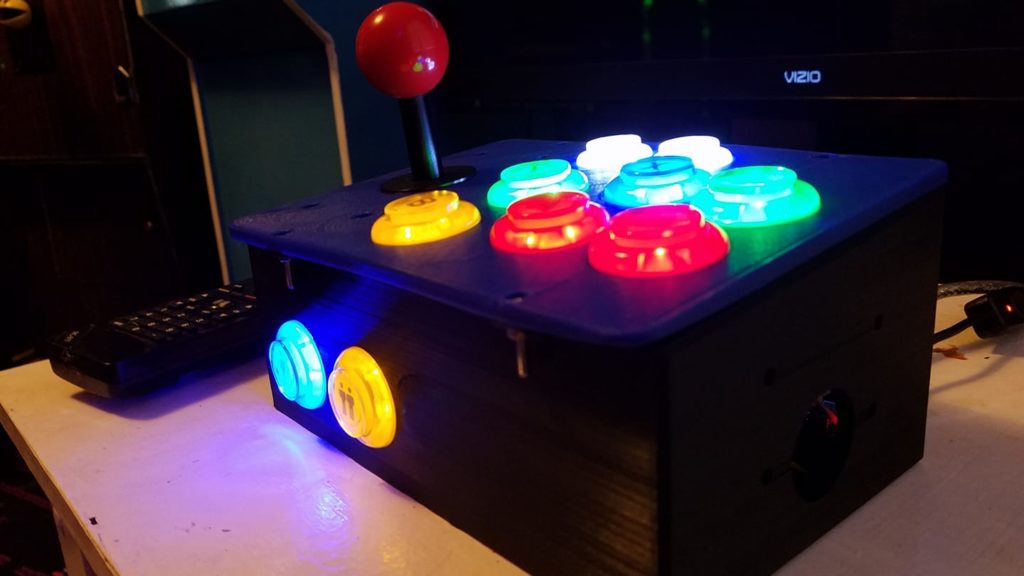
Side View -
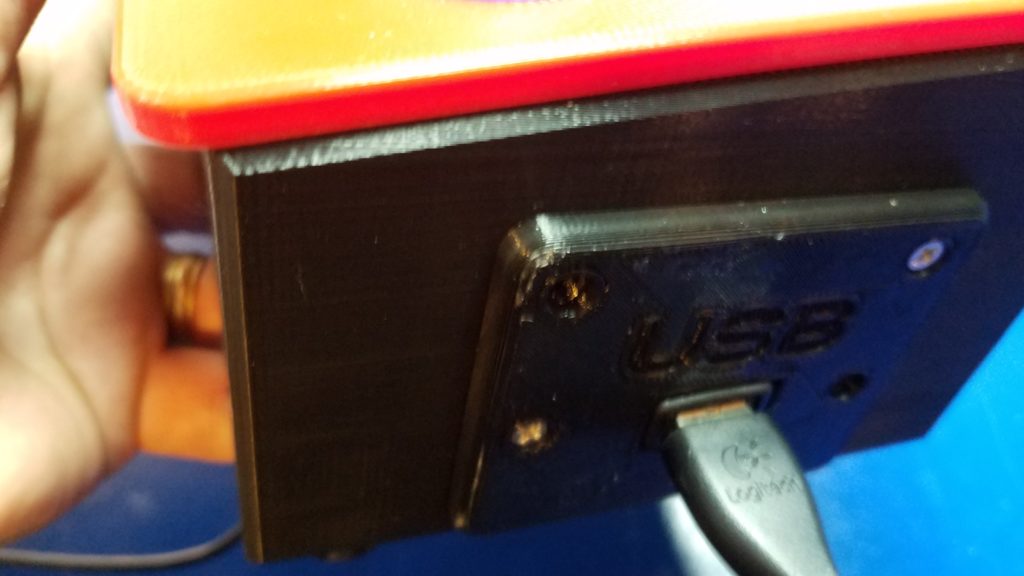
USB Plate -
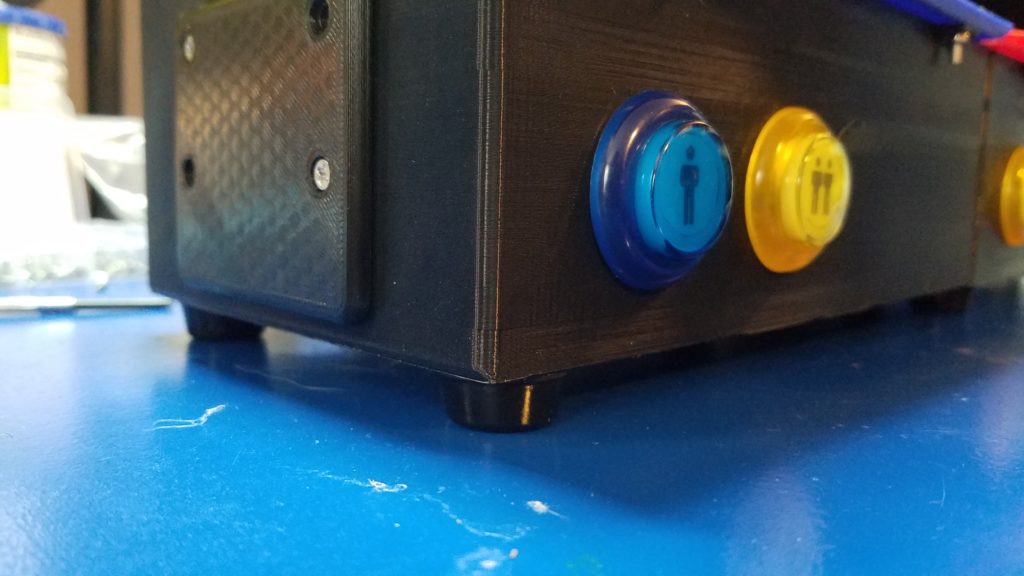
Rubber feet for extra stability -

MoonPatrol Concept -
-
-
-
-
Our To-Do List
Here are some ideas that will be developed going forward. These include some really interesting original ideas that you’ll likely never see anywhere else. But, they haven’t been done here either (yet). So for now, they are future to-do items. For total transparency, best to let everyone know what we hope to achieve in 2019 :
Add support for Glen’s Retro ShowTron stick + spinner!(not yet released)DONE! Check it out here.Add support for Glen’s Retro ShowTron Stick and Spinner(Coming very soon)DONE! Check it out here.Add support for Glen’s Retro ShowStar Wars Yoke!DONE! Check it out here.- Coin Door assembly to add a more authentic look to your build. There would be some electronics involved for adding Ir Sensors to detect when a coin has been inserted. But, it would be a fun sub-project for OpenCADE. [Status: An early concept, partially based on past experience ]
- Top panel to support a button array (i.e. Start + Select) and potentially an LCD display to show marquee art or some other stats. This will require hardware and software that will need to be investigated. An interesting option which may be far into the future. [Status: Adding extra buttons to the top would not be hard, adding a display+marquee]
Want to send us your OpenCADE build pictures to be posted here? We’d love to see what you’ve done with OpenCADE! E-mail us at jon [at] wagnerstechtalk.com. If we receive any photos, we’ll setup a page for our user builds. Let us know in your message if it’s OK to post your pictures publicly.

